
Is your computer infected with Ads by Browser Enhancements? It keeps popping up your computer? How to stop and remove this annoying malware? In this post, there will be the illustration and the tips to remove Ads by Browser Enhancements.
Description of Ads by Browser Enhancements
Ads by Browser Enhancements is an adware which displays coupons and deals on browsers like Mozilla Firefox, Google Chrome, or Internet Explorer. Once your computer is infected with Browser Enhancements, it will a lot of pop-up ads, coupons, banners and sponsor links on web pages that you visit. Ads by Browser Enhancements will underline keywords and show a box containing various coupons that are available.
The competitive prices offered by Browser Enhancements can not be trusted. All the Ads by Browser Enhancements aims to trick you to click on the pop up ads to generate the pay-per-click revenue. And Ads by Browser Enhancements is not responsible for the quality of the products. You 'd better nor to pay money for them.
Ads by Browser Enhancements will also keep track of your browser history and search data to feed you related ads. Keep Ads by Browser Enhancements on the computer is not a wise choice. Apart from the annoying pop ups, it may introduce other threats to your computer with some malicious links. It is suggested to remove it as soon as possible and it is highly recommended to keep a powerful anti-virus like Spyhunter on the computer to remove and block viruses.
Solutions to remove Ads by Browser Enhancements
In this post, there will be two solutions to remove Ads by Browser Enhancements :
1. Remove Ads by Browser Enhancements manually.
2. Remove Ads by Browser Enhancements by using SpyHunter anti-malware.

Instructions to Get Rid of Ads by Browser Enhancements
Method 1: Ads by Browser Enhancements Manual Deletion
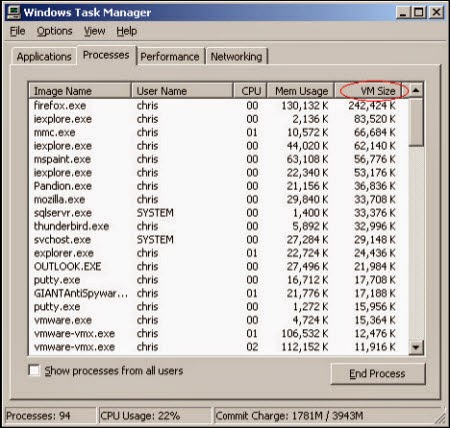
Step 1: Open Windows Task Manager and close all running processes.
( Methods to open Task Manager: Press CTRL+ALT+DEL or CTRL+SHIFT+ESC or Press the Start button->click on the Run option->Type in taskmgr and press OK.)
( Methods to open Task Manager: Press CTRL+ALT+DEL or CTRL+SHIFT+ESC or Press the Start button->click on the Run option->Type in taskmgr and press OK.)
Step 2: Reset your browser setting
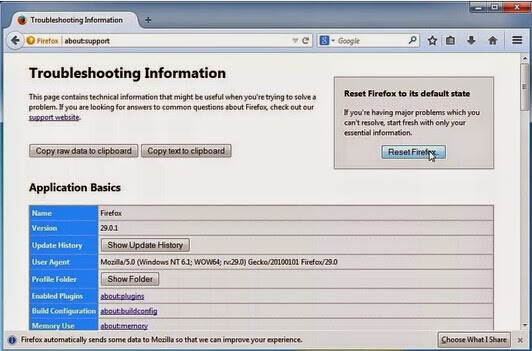
Firefox:
In the drop-down list of Firefox, go to Help and click on Troubleshooting Information.
Click on the Reset Firefox button to reset it.
)VUKCS%5DJ.jpg)
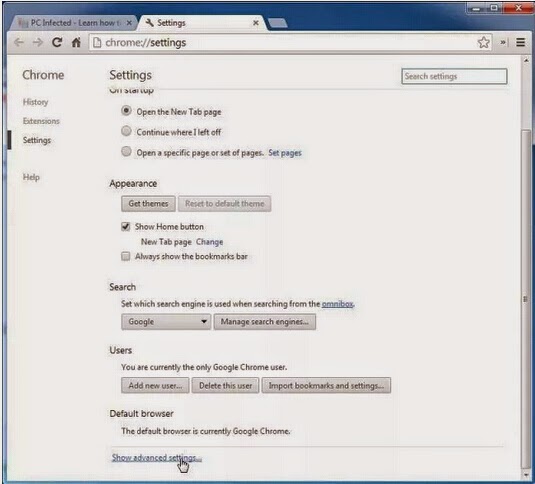
Google Chrome:
Click on the Chrome menu on the right of toolbar and then select Settings.
Scroll down to the bottom to click Show advanced settings.
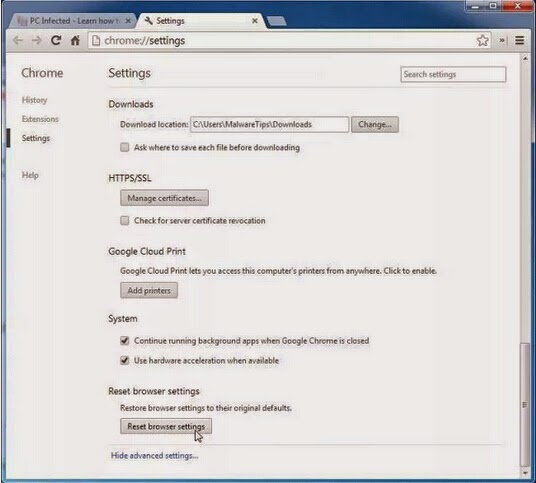
Go down to the bottom and click Reset browser settings to reset Google Chrome to its default setting.
IE:
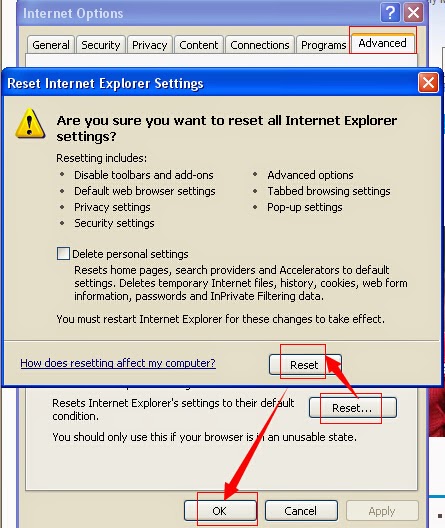
Click Tools on the up right corner and select Internet Options.
Click on Advanced tab, press Reset button to reset IE to its default settings.
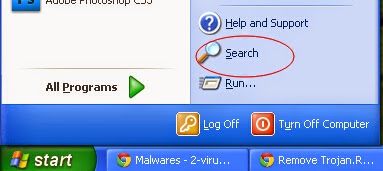
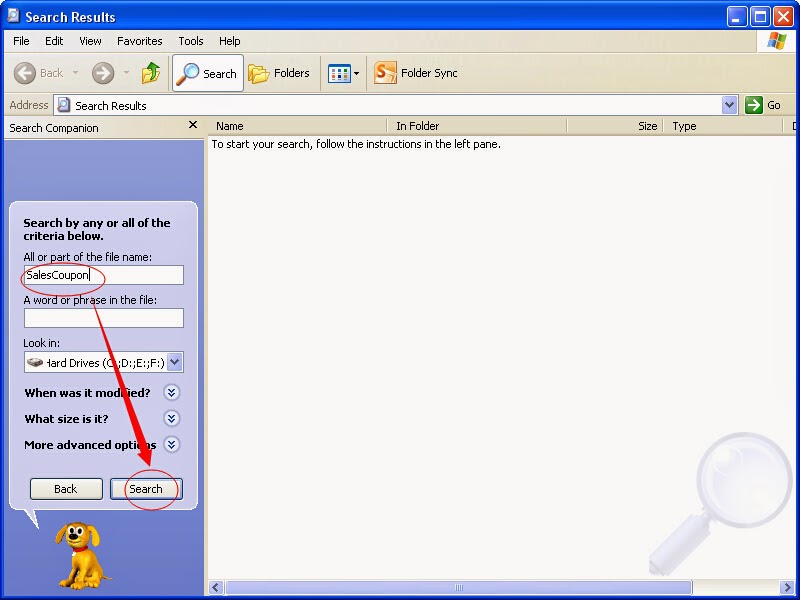
Step 3: Remove files of Ads by Browser Enhancements like the pictures showed:

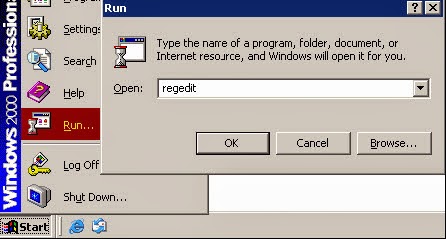
Step 4: Go to the Registry Editor and remove all the infection registry entries listed here:
(Steps: Hit Win+R keys and then type regedit in Run box to search)
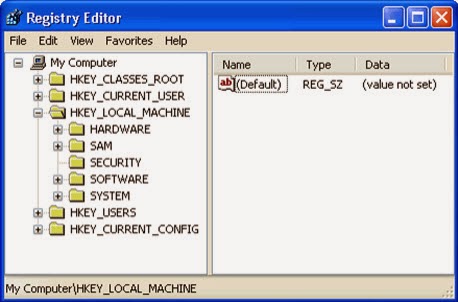
HKEY_LOCAL_MACHINE\SOFTWARE\Microsoft\Internet Explorer\Main "Start Page" = "http://www.<random>.com/?type=hp&ts=<timestamp>&from=tugs&uid=<hard drive id>"
HKEY_LOCAL_MACHINE\SOFTWARE\Microsoft\Internet Explorer\Search "CustomizeSearch" = "http://www.<random>.com/web/?type=ds&ts=<timestamp>&from=tugs&uid=<hard drive id>&q={searchTerms}"
HKEY_LOCAL_MACHINE\SOFTWARE\Microsoft\Internet Explorer\Search "SearchAssistant" = "http://www.<random>.com/web/?type=ds&ts=<timestamp>&from=tugs&uid=<hard drive id>&q={searchTerms}"
Step 5: All the infection associated files listed below need to be removed:
%CommonAppData%\<random>.exe
C:\Windows\Temp\<random>.exe
%temp%\<random>.exe
C:\Program Files\<random>
Method 2: Automatic Removal with SpyHunter
SpyHunter is a world-famous real-time malware protection and removal tool, which is designed to detect , remove and protect your PC from the latest malware attacks, such as Trojans, worms, rootkits, rogue viruses, browser hijacker, ransomware, adware, key-loggers, and so forth. To keep SpyHunter Anti-malware on your computer is an important way to protect your computer in a good condition. Please find the instruction as follow.
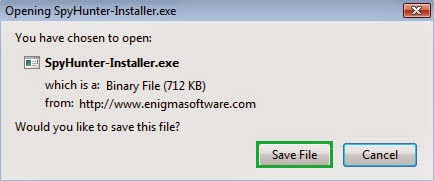
Step 1: Press the following button to download SpyHunter.
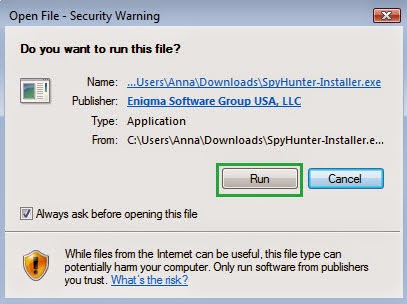
Step 2: Save it into your computer and click on the Run choice to install it step by step.
Step 3: Click Finish then you can use it to scan your computer to find out potential threats by pressing Scan computer now!
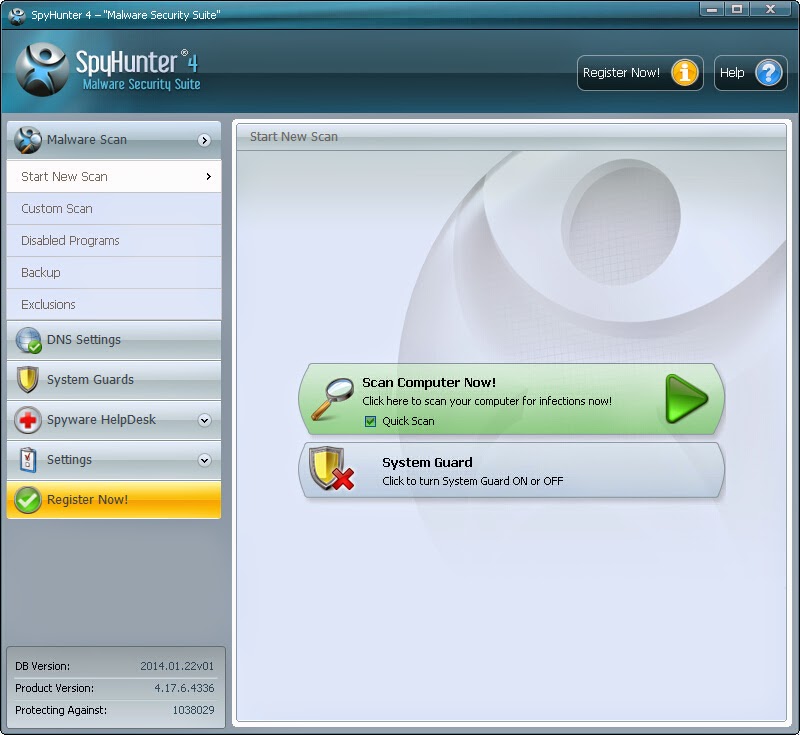6158)AZRTJ6S.jpg)
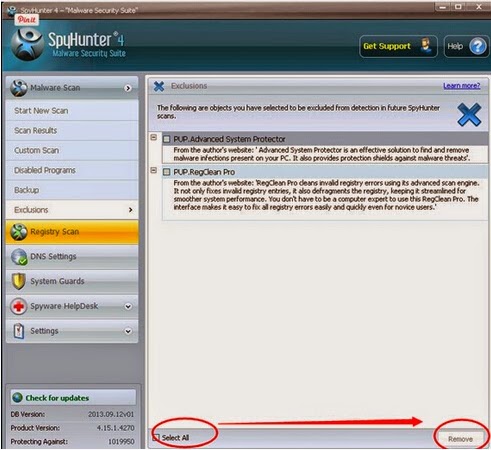
Step 4: Tick Select all and then Remove to delete all threats.
Guide to download Perfect Uninstaller to remove unneeded applications and speed up PC
If you are still worried about the left over of Ads by Browser Enhancements and want to clean all the unwanted registry entries, or want to uninstall other specific programs, it is recommended to use Perfect Uninstaller.
Perfect Uninstaller is a powerful uninstall tool which can completely remove Adobe, Aol Toolbar, Avast, AVG, ESET NOD32, Internet Explorer 8, McAfee, Microsoft Office, Nero 7, Norton, ESET NOD32 and much more difficult to completely uninstall applications. It is better and easier way for you to completely and safely uninstall any unneeded or corrupt application that standard Windows Add/Remove applet can't remove.
A: At first, boot your computer into Safe Mode with Networking.
To perform this procedure, please restart your computer and keep pressing F8 key until Windows Advanced Options menu shows up, then using arrow key to select “Safe Mode with Networking” from the list and press ENTER to get into that mode.

B: Follow the below guide to continue.
Step 1. Install and launch Perfect Uninstaller on your PC.

Step 2. Select "Run" to download and install Perfect Uninstaller.


Step 3. After completely install, you can run the Perfect Uninstaller programs and see all your installed programs details.

Step 4. Choose the programs that you want to uninstall, click “Next” to proceed.

Step 5. Perfect Uninstaller is scanning your PC for associated entries. Click “Next” to remove them.


No comments:
Post a Comment